Ratcam v0
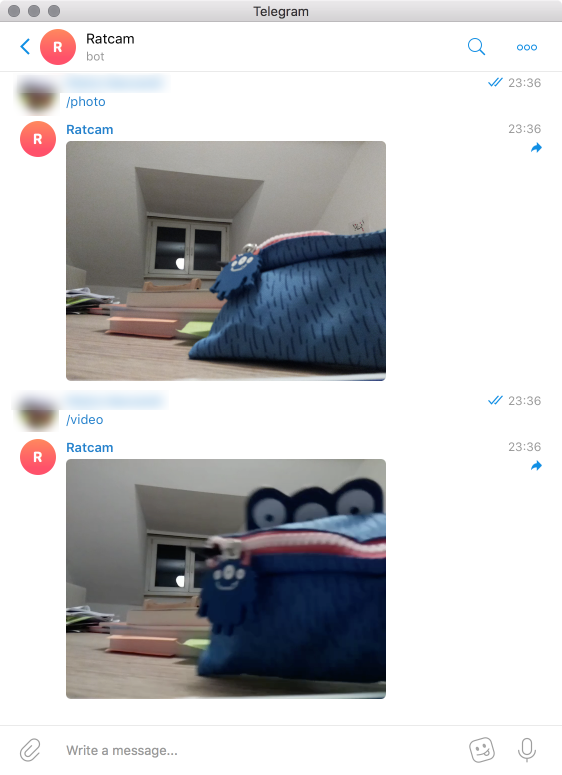
Ratcam allows you to control your RaspberryPi camera through a Telegram bot, and alerts you when movement is detected, by sending photos and videos.
The idea came to me when I found traces of mice in my house; rather than adopting drastic measures (and having to deal with the remains), I wanted to figure out from where they entered.
Project status
- OK Minimal bot support
- OK Sending photos and videos
- OK Muxing H.264 into a MP4 file
- OK Integration of the MP4 muxer as Picamera encoder
- OK Pull request to Picamera

- OK Motion detection
- OK Integration of all functionalities
- OK Authentication of Telegram chats
- OK MP4 circular buffer
- OK Parallelization of bot and monitor process
- OK IR lighting setup
- OK Camera calibration
— Pietro Saccardi 2017/10/07 15:22
Functionalities
- (Night) monitoring
- Motion trigger
- Automatic video recording and sending triggered by motion
- Photo and video on demand
- Telegram bot control
Materials
Hardware:
- RaspberryPi (I use a model 2B)
- USB WiFi Antenna for Raspberry (or ethernet connection)
- RaspberryPi Camera Module (I use the model noIR v2)
- IR LED for lighting the scene and resistors: see Night camera
Software:
- The software is entirely in Python 3
- You should have a working camera setup for the Raspberry, see Installation
Implementation details
This section explains which software and libraries have been used.
Camera/bot interaction
The plan is to have the following interactions possible:
- The user can request at any moment photo or video
- We analyse the frames to detect motion, and when detected, a notification is sent.
- The camera records on a circular buffer, in such a way that when motion is detected, we have already recorded the few seconds preceding the event.
- We record as long as motion is detected, breaking the video every 30s or 1 minute, sending it through the Telegram bot
- The user can request deactivation of the camera
- When motion is detected, the camera sends a heat map picture of the motion.
Telegram bot
The library used is python-telegram-bot, which has an excellent documentation and supports photos and videos. Their wiki contains tons of snippets and examples.
A Telegram bot was chosen to control the camera for the simplicity of use and the availability of several libraries. Using a bot lifts me from the responsibility of managing a network protocol, a server or a simple direct connection. Moreover enables cloud storage for the media and handles automatically all requests.
Audio/video management
The library used is called picamera. It's the de-facto standard to handle audio/video on the Raspberry Pi; it's well documented as well. Picamera provides some functionalities that are essential for this project:
- Writing on any stream (guide)
- Low light image control (guide)
- Native H.264 encoding (guide). This is of the essence: an uncompressed video would be too big for the RaspberryPi computational capabilities, aside not being supported by Telegram. Picamera accesses directly the API of
libmmal, which returns a stream that is pre-encoded by the dedicated hardware on the RasperryPi. - Simultaneous capture and analysis (guide)
- Extraction of the H.264 motion vector (see H.264 and MP4) while encoding (guide). This means that motion estimate can be done on the dedicated hardware (and by a well tested and effective algorithm). Motion detection is literally a dozen lines of code.
Multiprocess
In order to analyse the image and simultaneously interact with the bot, it is necessary to run two parallel processes. Python does not support multithreading (or rather, its Global Interpreter Lock forces one thread to be executed at a time), therefore we must make the two process communicate. The multiprocessing library made it easy: an object shared between the two processes signals the events (motion detected, no more motion, photo/video request, photo/video ready to send) and dispatches the path of the files to the Telegram bot.
Authentication and multiple chats
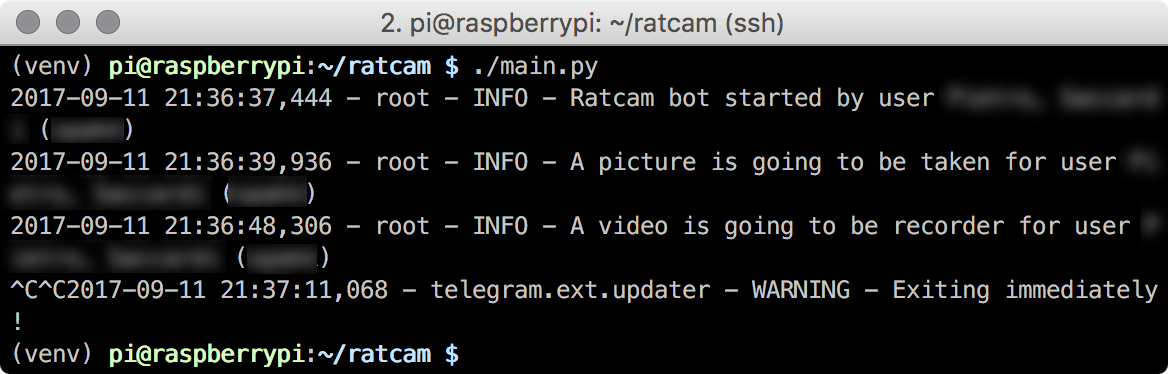
Technically, a Telegram bot is accessible by anyone; but not everyone should be able to peek at the camera. I implemented an authentication system by prompting for a password that is printed to the console. The authentication status is persisted on a JSON file, and messages coming from unauthorized chats are blocked already at bot filter level. The software handles thus multiple chats, but it's sufficient to upload the media once, and then forward it to the other chats.
Motion detection
The H.264 motion vector is a vector estimate (direction and speed) of the movement of the parts that compose the image. H.264 computes this as part of its own encoding mechanisms. The estimate is used to generate a prediction of the following frame; what will actually be stored is the part of the image that differs from the prediction. In the following table, I extracted the norm of the motion vector for each of the macroblocks of the original video, and represented it as grayscale. In the third column, I removed colors from the original video, and overlaid the motion vector on top of it.
The H.264 motion vector is quite noisy, so I implemented a simple median filter in Pillow; this improves remarkably the noise. These two images represent the motion vector (the squared norm of the vectors, normalized). The second picture clearly shows the effectiveness of the median filter.

The solution adopted:
- Compute the norm of the motion vector
- Apply the median filter to remove the noise
- Sum the intensity of the frames over a time interval of few seconds
- Let the older frames decay exponentially, in such a way that after that interval, the intensity falls below 1.
In this way we can catch slow motion too, because they accumulate over time in the same region, until they go beyond the activation threshold.
MP4 Muxing
The stream generated by Picamera is pyre H.264, not an MP4; Telegram accepts a well-formed MP4. We could convert it using a shell command like ffmpeg -f h264 -i pipe:0 -r <fps> -c:v copy -an -f mp4 - taking input from stdin and writing to stdout; however, in the beginning it didn't seem that complicated to mux an MP4 file starting from the H.264 stream directly in Python, instead of spawning a separate process and copying data back and forth. As a matter of fact, it was a bit more complicated (more details in H.264 and MP4). Anyhow, I now have this extra functionality implemented in Python.
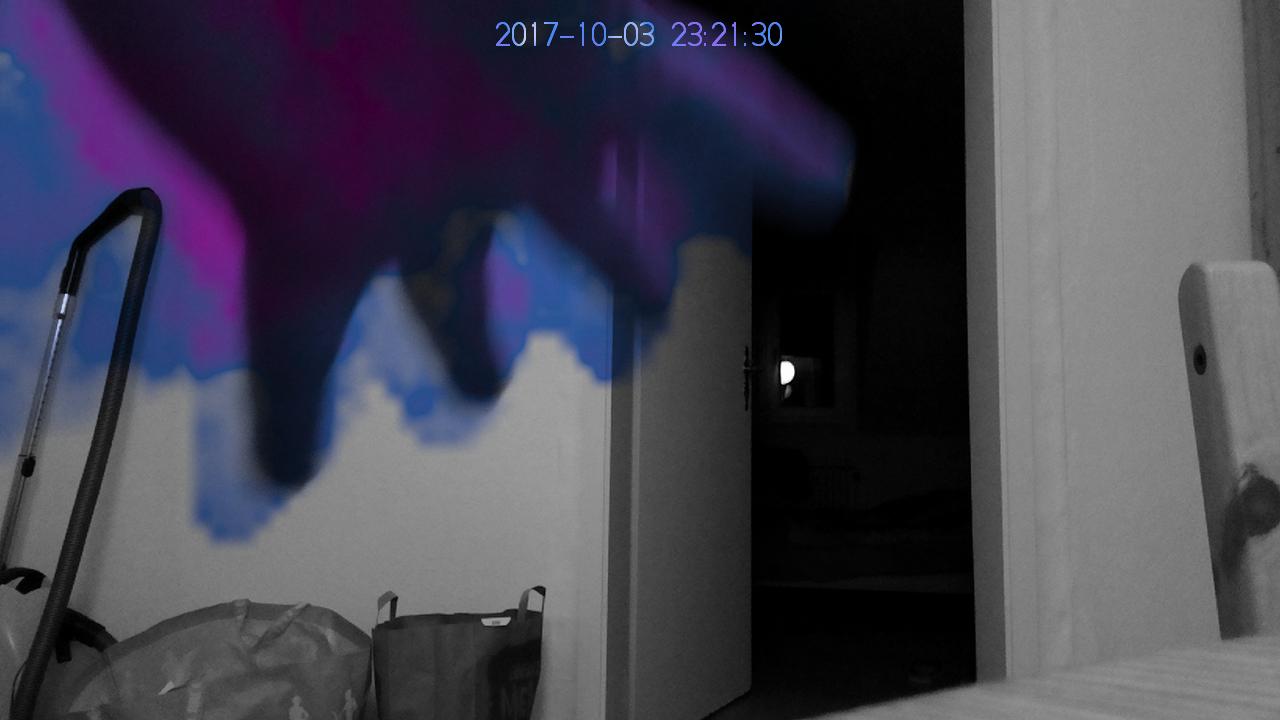
Night camera
The project works perfectly with a normal camera, in daylight. For night vision though, we need to take a bit of extra care.
- The camera module for the Raspberry must be the noIR version.
- We need to light up the scene (like a normal spotlight, just outside the human visible spectrum – visible for the camera though)
Watch out for the camera module name
The camera module sensitive to IR is the noIR. The name is misleading, no IR does not mean that it's not sensitive to infrared light. It means instead that it does not have a filter for infrared light. Camera sensors by themselves are sensitive to IR; to avoid IR light contamination in the image, a filter that removes IR is added. The noIR camera module does not have such filter, and thus is sensitive to IR.
These are the LEDs I used; 1.35V, 100mA, at 870 and 925 nm respectively. At first sight, it doesn't seem that there is any meaningful sensitivity difference between 870 and 925 nm. Nonetheless, I'm using 870nm LEDs, just to get further away from the visible spectrum.
To power them up, I am using the 5V pins of the Raspberry (the 3v3 pin does not support above 500mA, and we are being generous). These 5V pins are directly connected to the power source; I am using an adapter rated for 2A, so I should be on the safe side: the Raspberry Pi, even with a camera and actively recording, corrente; il doesn't exceed the 500mA of current.
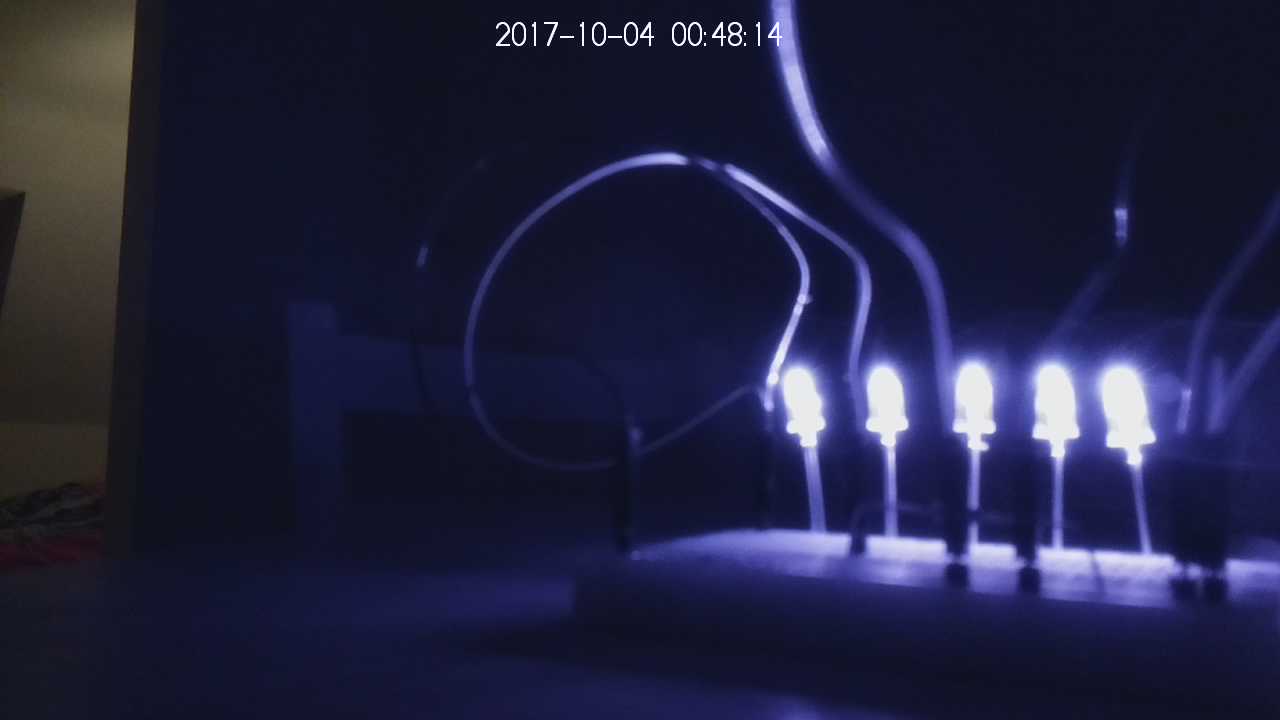
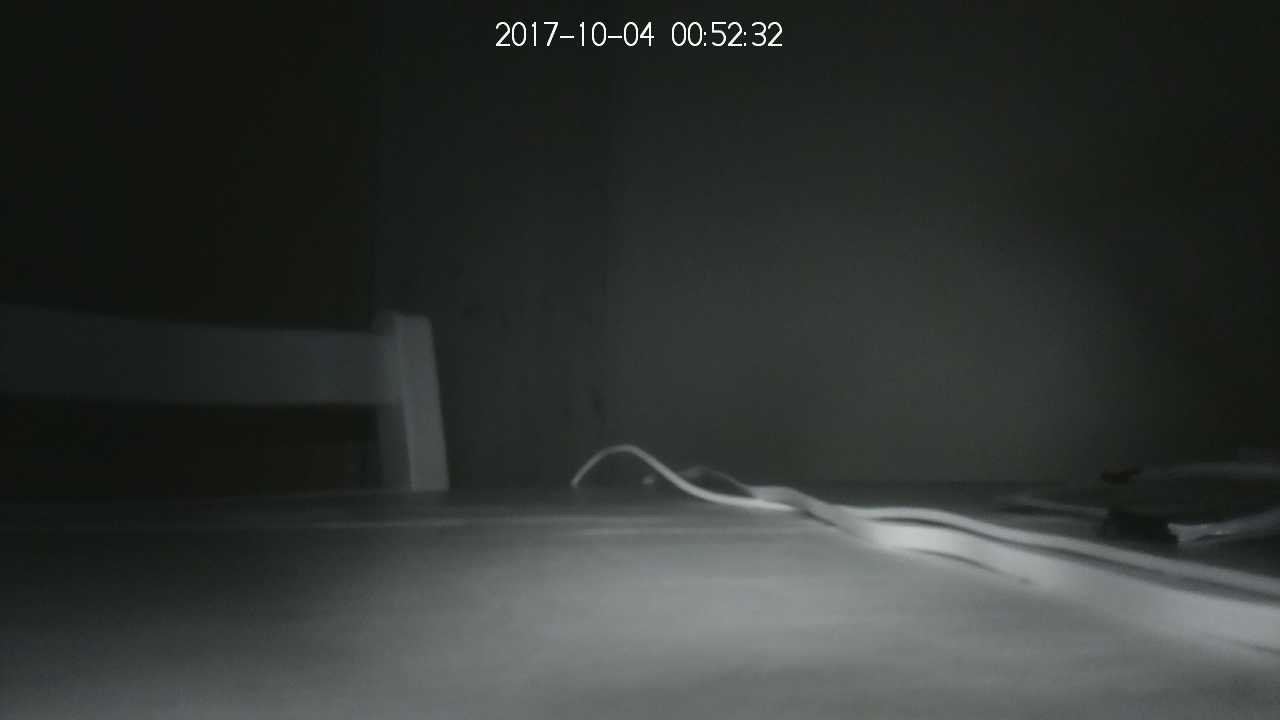
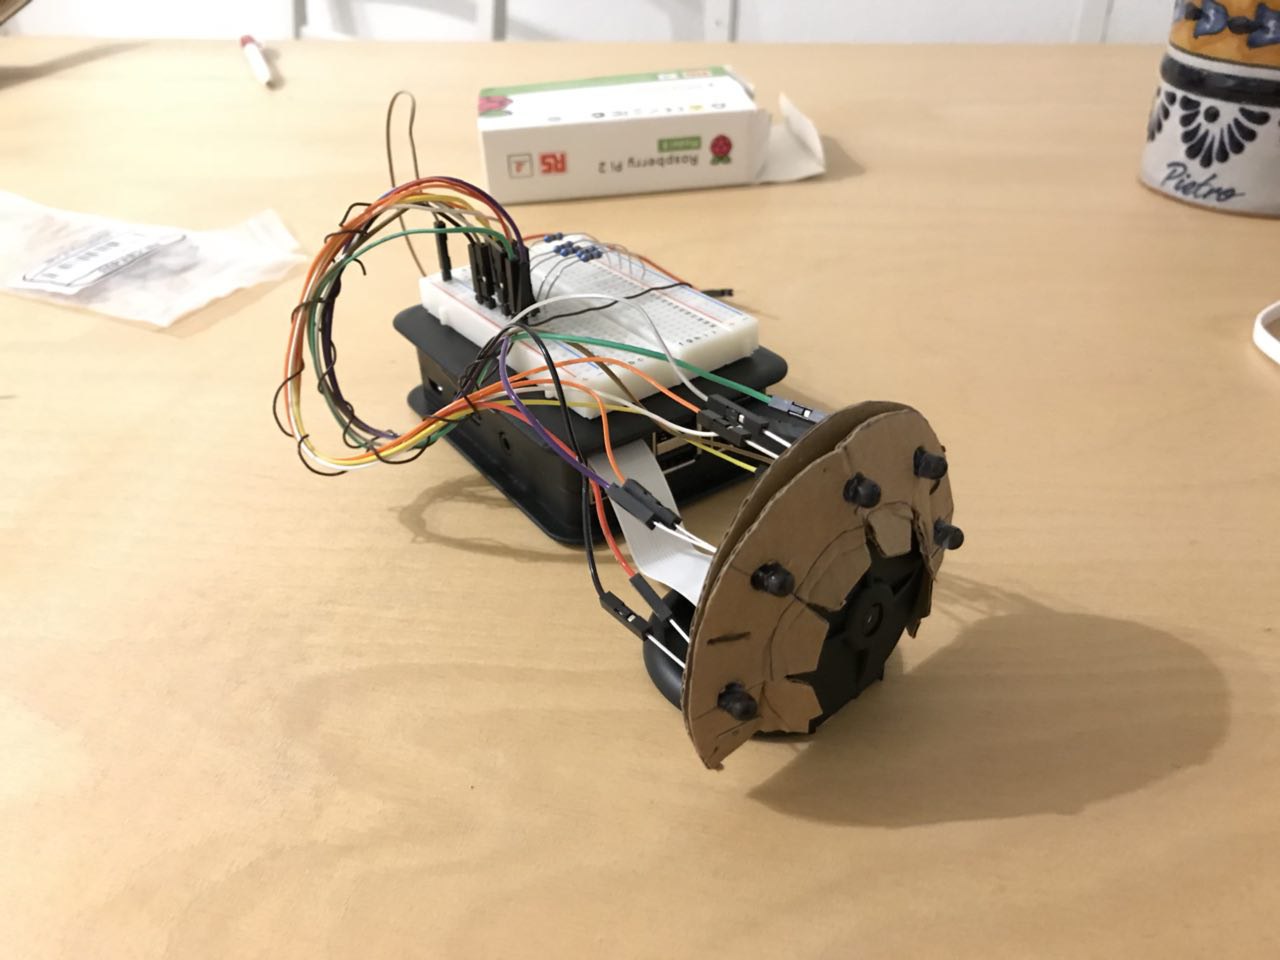
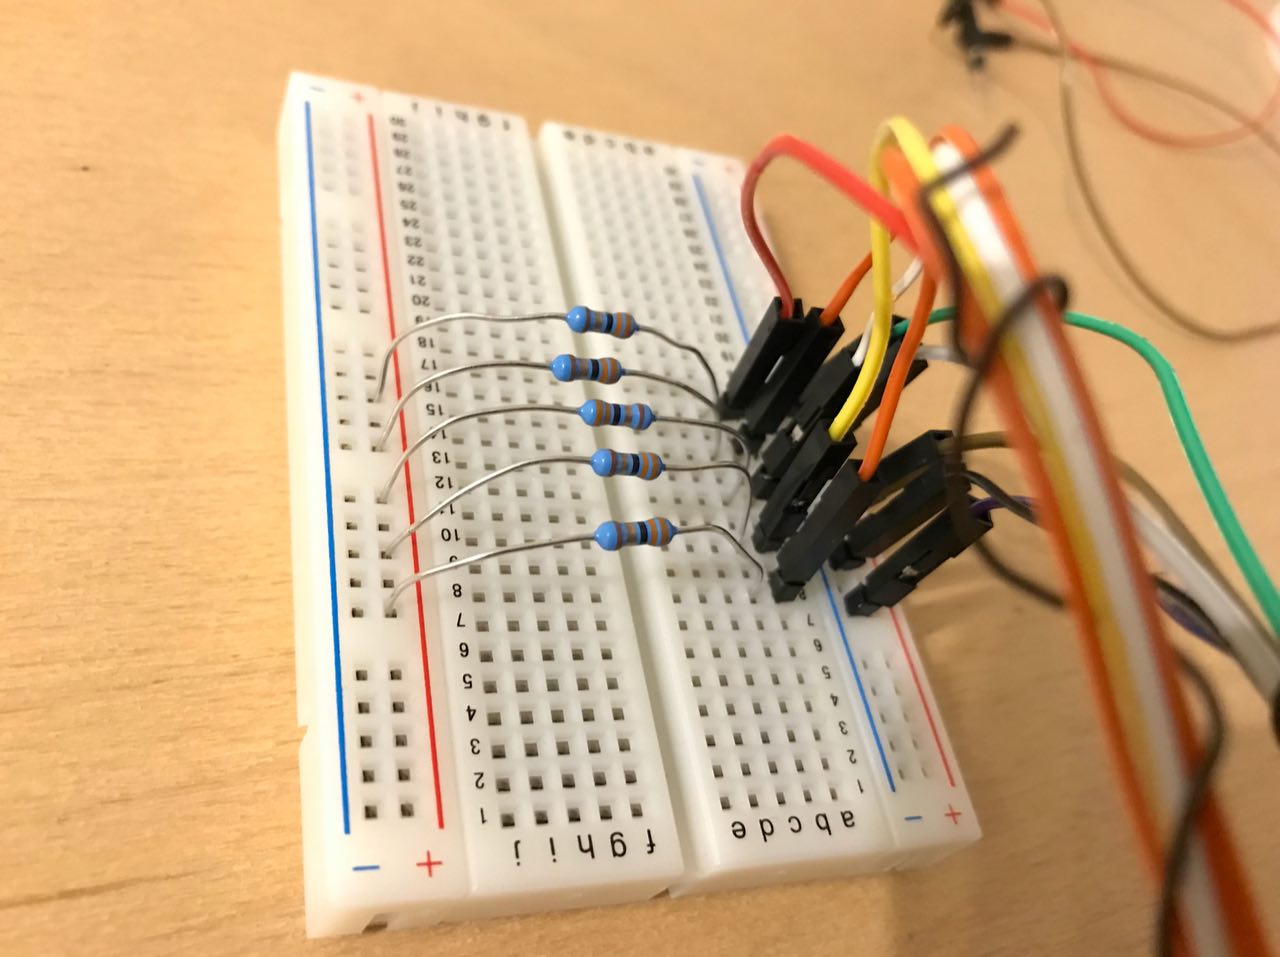
I temporarily installed the LEDs on a cardboard ring, in such a way that they light the scene up in front of the camera, and sorted a bit out the cables. Lighting is quite good, setting the camera up with 800 ISO and night mode I can get quite clear images! Each LED is installed behind a 36Ω resistor, and they're connected in parallel.

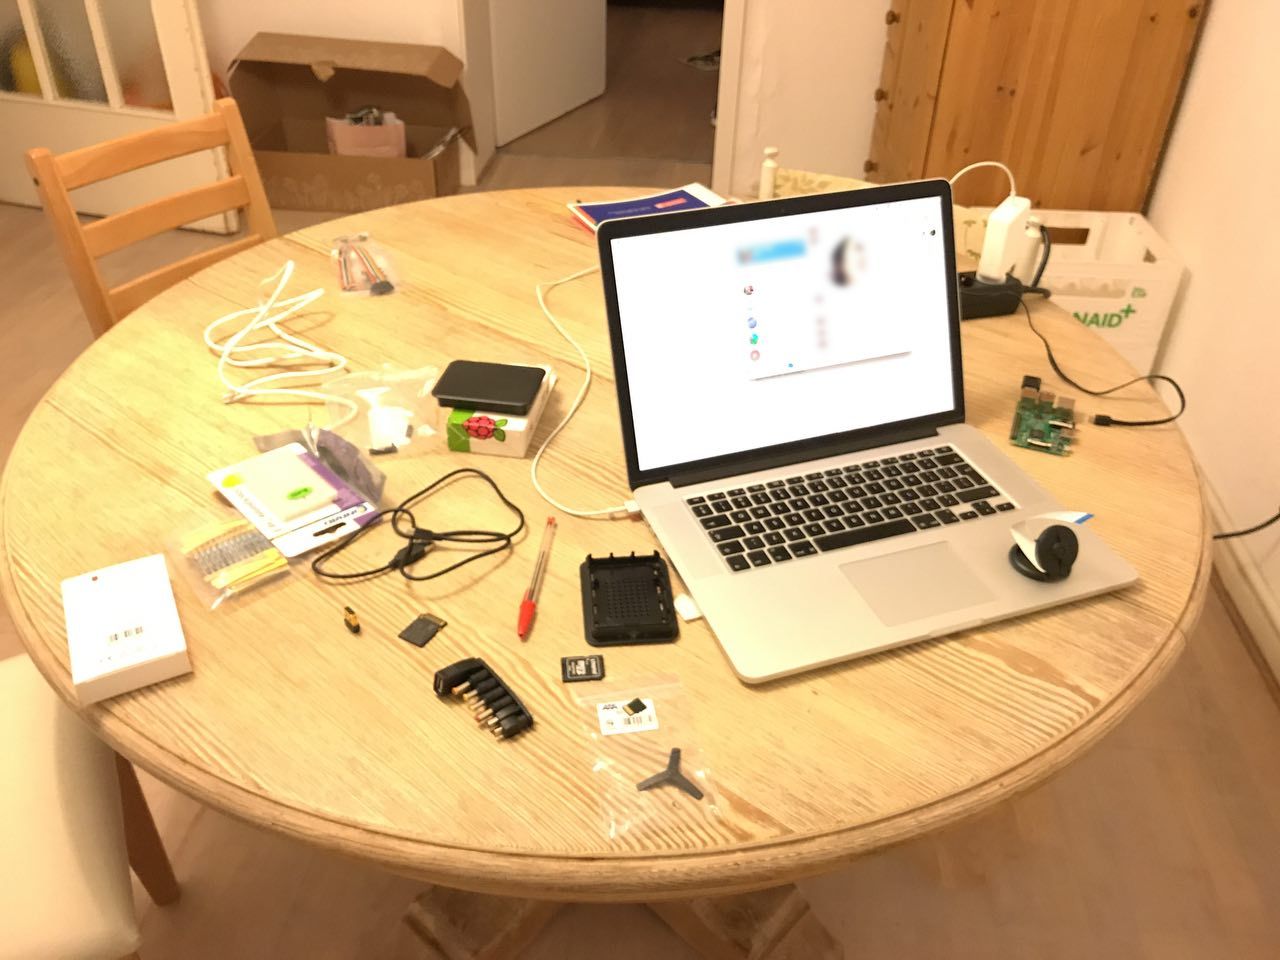
Installation
This section is about preparing the Raspberry.
- I used Raspbian Stretch Lite, link to the installation guide.
- Some guides to set WiFi and SSH up already before the first boot:
WiFi and SSH (section 4)
- Update the software
sudo apt-get update && sudo apt-get dist-upgrade! - Install the camera module, link to the guide I followed (remember to use
raspi-config!) - Prepare a healthy Python3 environment, clone the repository, install dependencies. I plan to use
Pillowfor image manipulation, andnumpyfor motion detection. Although they're not yet used in the code, you should install them. The following steps take into account the components that are needed for Pillow and numpy. References:
- setup.sh
# Environment
sudo apt-get install git virtualenv
# Minimal Pillow packages
sudo apt-get install python3-dev libjpeg-dev
# Required for cffi which is required for bcrypt
sudo apt-get install libffi-dev
git clone https://git.mittelab.org/proj/ratcam.git
cd ratcam
# Create virtual environment to keep system clean
virtualenv -p python3 venv
# Activate and load used packages
source venv/bin/activate
pip install -r requirements.txt
H.264 and MP4
(AKA: How to hurt oneself and come out unharmed)
Muxing a H.264 stream in an MP4 is not exactly trivial, but I think it's something that is really missing from Picamera. In this section I write down some difficulties I encountered and resources I used.
First of all, the official sources that deal with H.264 and MP4:
- ISO/IEC 14496-12 contains information on MP4 and the definition of all the main atoms.
- ISO/IEC 14496-15 contains information on AVC, especially the
avc1eavcCatom which are necessary for correctly encoding the file. - ISO/IEC 14496-10 contains all the details on H.264. I just needed a part of this, to understand how the stream is structured and how to distinguish the NALs.
Some essential contributions for a better understanding:
- h264bitstream, tool to analyse H.264
Essentially, MP4 consists of a hierarchical tree of classes, called atoms/, which specify all the properties of the file. ISO/IEC 14496-12 defines all these properties and parts, and explains in detail how to encode them and which are mandatory. Atoms are stored in binary format with a 32bit field that contains the overall atom length, followed by a 4 byte string which specifies the type (it's human readable). Data follows.
We must rebuild and encode all atoms. For this there is a library (there's a library for everything citation_needed), pymp4. Their CLI tool was essential to spot the differences between the Python generated file and the ffmpeg one (best way of checking correctness).
The data needed to rebuild all atoms is limited: resolution, framerate, each sample's size (in bytes), profile and level of the stream, and SPS and PPS parameters. With the exception of profile, level and parameters, all the other information is available already in Picamera.
Once built the atoms, I had one more problem: the H.264 stream as it is can't be inserted into an mdat atom. QuickTime on OSX cannot read it, nor Telegram can. A binary diff of the ffmpeg-muxed file and the python-muxed file shows that there is a difference, which at first looks like a padding error. Upon further analysis, it turns out it's a change that happens always in the first 4 bytes of each frame, which are always 00 00 00 01. This is the separator between NAL units, which contain the several frame types (I, P or B) and the image parameters.
Essentially, the Annex B encoding for H.264 states that such separator needs to be replaced, within an MP4 file, with the length of the NAL unit that follows. All the H.264 frames sent by libmmal, with the exception of the SPS and PPS parameters, have a single NAL unit, thus it's easy to patch it (before closing the stream). Frames that contain only SPS or PPS data, have (at least) two NALs, therefore we need to parse them (an easy task, just splitting at the separator). This allows us also to extract directly SPS and PPS parameters, that have to be inserted into the avcC atom, without having to pre-compute them from the MMAL encoder settings.
All of this ended up into a very simple MP4 muxer for a single H.264 stream, written in Python, which could be a good addition to Picamera, to produce directly MP4 files, without using external tools.
Polemics and trivia
Telegram bot: privacy and security
Media sent through Telegram are stored in the cloud, therefore the privacy level one can obtain is no better than the one provided by normal Telegram chats (not those end-to-end encrypted). The security of the transfer is the same as performing an HTTPS request (the protocol on top of which Telegram APIs travel), taking in account possible weaknesses in the implementation of python-telegram-bot and Telegram's inner protocol, on the client side, MTProto. This project is born to catch a glimpse of a mouse, not to do video surveillance. Implementing a whole network stack to transfer the media in a secure way is a bit overkill, and raises even more security problems.
"But... MTProto is not safe"
That's not quite correct, here there is a description of what MTProto does or does not do. The mouse in my house is going to take the risk. After all, the polemics on the effectiveness of a custom-made protocol is always open  At least Telegram https://core.telegram.org/techfaqoffers a prize for who breaks the protocol.
Why not using something pre-made?
Because I won't learn anything if I do. I would have never read ISO 14496 and learned tons of interesting stuff on H.264 if I hadn't tried to mux MP4.